

Why this problem matters now
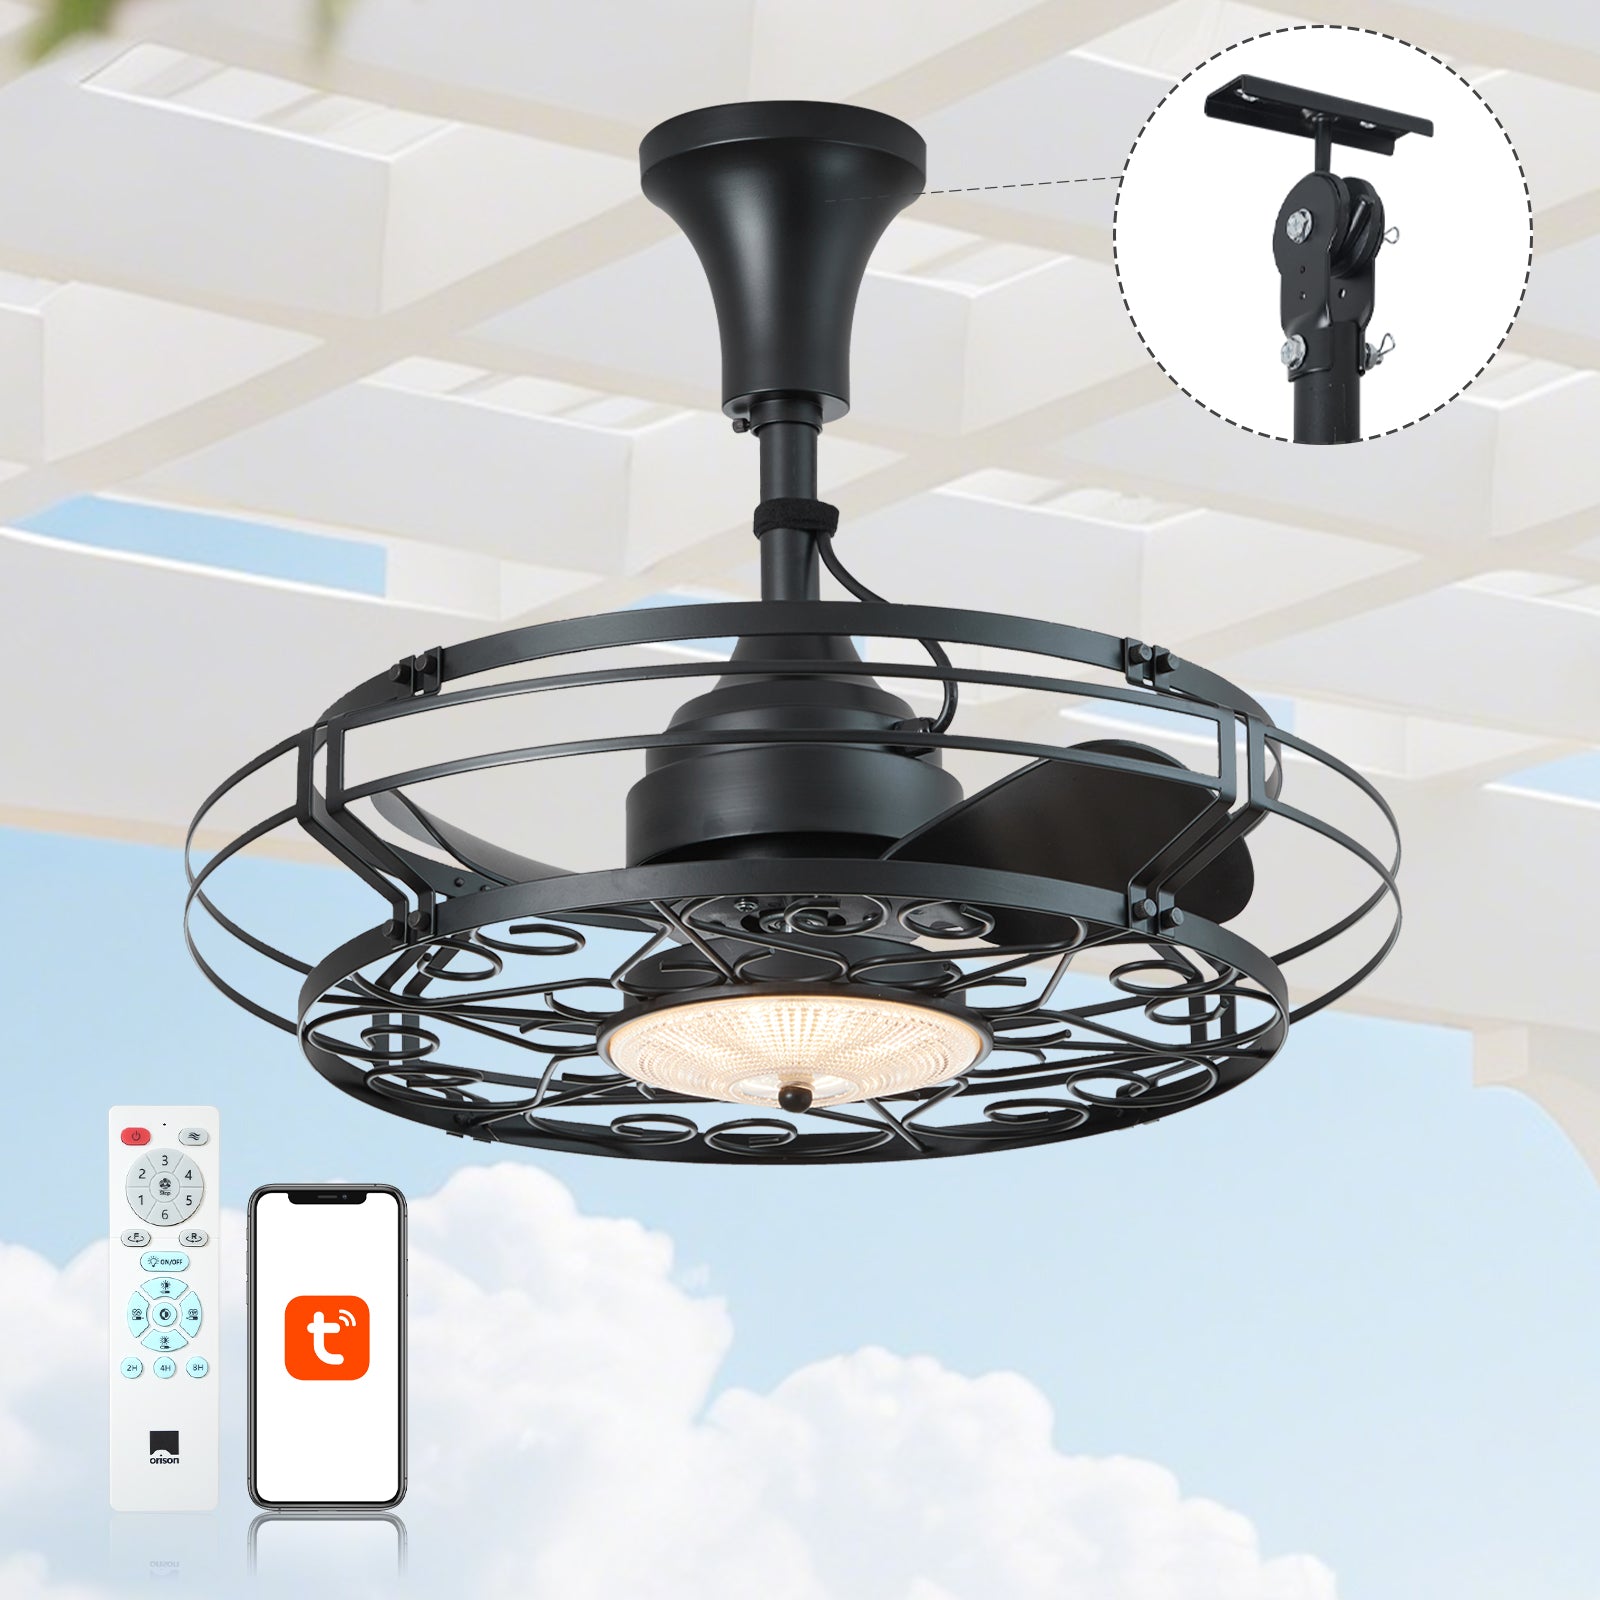
Summer heat, stronger storm cycles, and increased outdoor living have made effective patio ventilation a practical safety concern — not just comfort. NOAA’s long‑term climate summaries indicate more frequent high‑temperature episodes in many regions, which raises the stakes for reliable airflow outdoors. For projects that demand both performance and weather resilience, selecting and installing the right equipment matters; consider models built for the elements, for example robust outdoor patio ceiling fans with appropriate CFM and damp/wet ratings. This guide is problem-driven: it identifies common failure modes in field installs and prescribes precise, evidence‑based steps to avoid them.

Initial assessment: sizing, site, and safety
Begin with a site survey. Measure the covered area and calculate required airflow — CFM per square foot remains the practical metric. For typical covered patios, 1–3 CFM per square foot is a rough rule of thumb; high‑occupancy or shaded spaces often need the upper end of that range. Check ceiling height: for high‑CFM units you’ll likely need a downrod to preserve clearance and avoid turbulence. Confirm local electrical access, junction‑box capacity, and whether the structure is exposed to direct weather; opt for damp‑ or wet‑rated fixtures accordingly. Finally, verify load-bearing structure for the fan’s weight and motor torque — the mounting bracket and joist must be certified to support dynamic loads.
Tools, parts, and terminology to prepare
Assemble required materials before you start: UL‑listed ceiling fan mounting bracket, appropriate downrod length, vibration‑isolating fan plate, torque‑rated screws, wire connectors, and a compatible remote or smart control module. Familiarize yourself with these industry terms: CFM (cubic feet per minute), blade pitch (degrees of blade angle), downrod length, and motor type (AC vs. BLDC). If the fan includes a light kit, ensure its driver matches the fan motor’s electrical characteristics and dimming scheme. Measuring tools (level, ammeter, and torque wrench) are non‑negotiable for a reproducible install.
Step‑by‑step installation (safety‑first)
1) De‑energize the circuit and verify with a non‑contact tester. 2) Install a fan‑rated junction box and secure it to a structural member — never to drywall alone. 3) Mount the bracket, then hang the fan temporarily to route wiring and confirm center alignment. 4) Assemble blades and balance kit on the ground when possible; check blade pitch and fastener torque per manufacturer specs. 5) Use the correct downrod: longer rods stabilize high‑CFM fans at higher ceilings, but check manufacturer torque limits. 6) Make all electrical connections using wire connectors rated for the fan’s current; bond the ground. 7) Before finalizing, spin the motor briefly at low speed while still supported to check for wobble, unusual noise, or overheating. If the fan has a capacitor‑based motor, let the manufacturer’s burn‑in procedure complete — it reduces early failures.
Pairing controls and smart integration
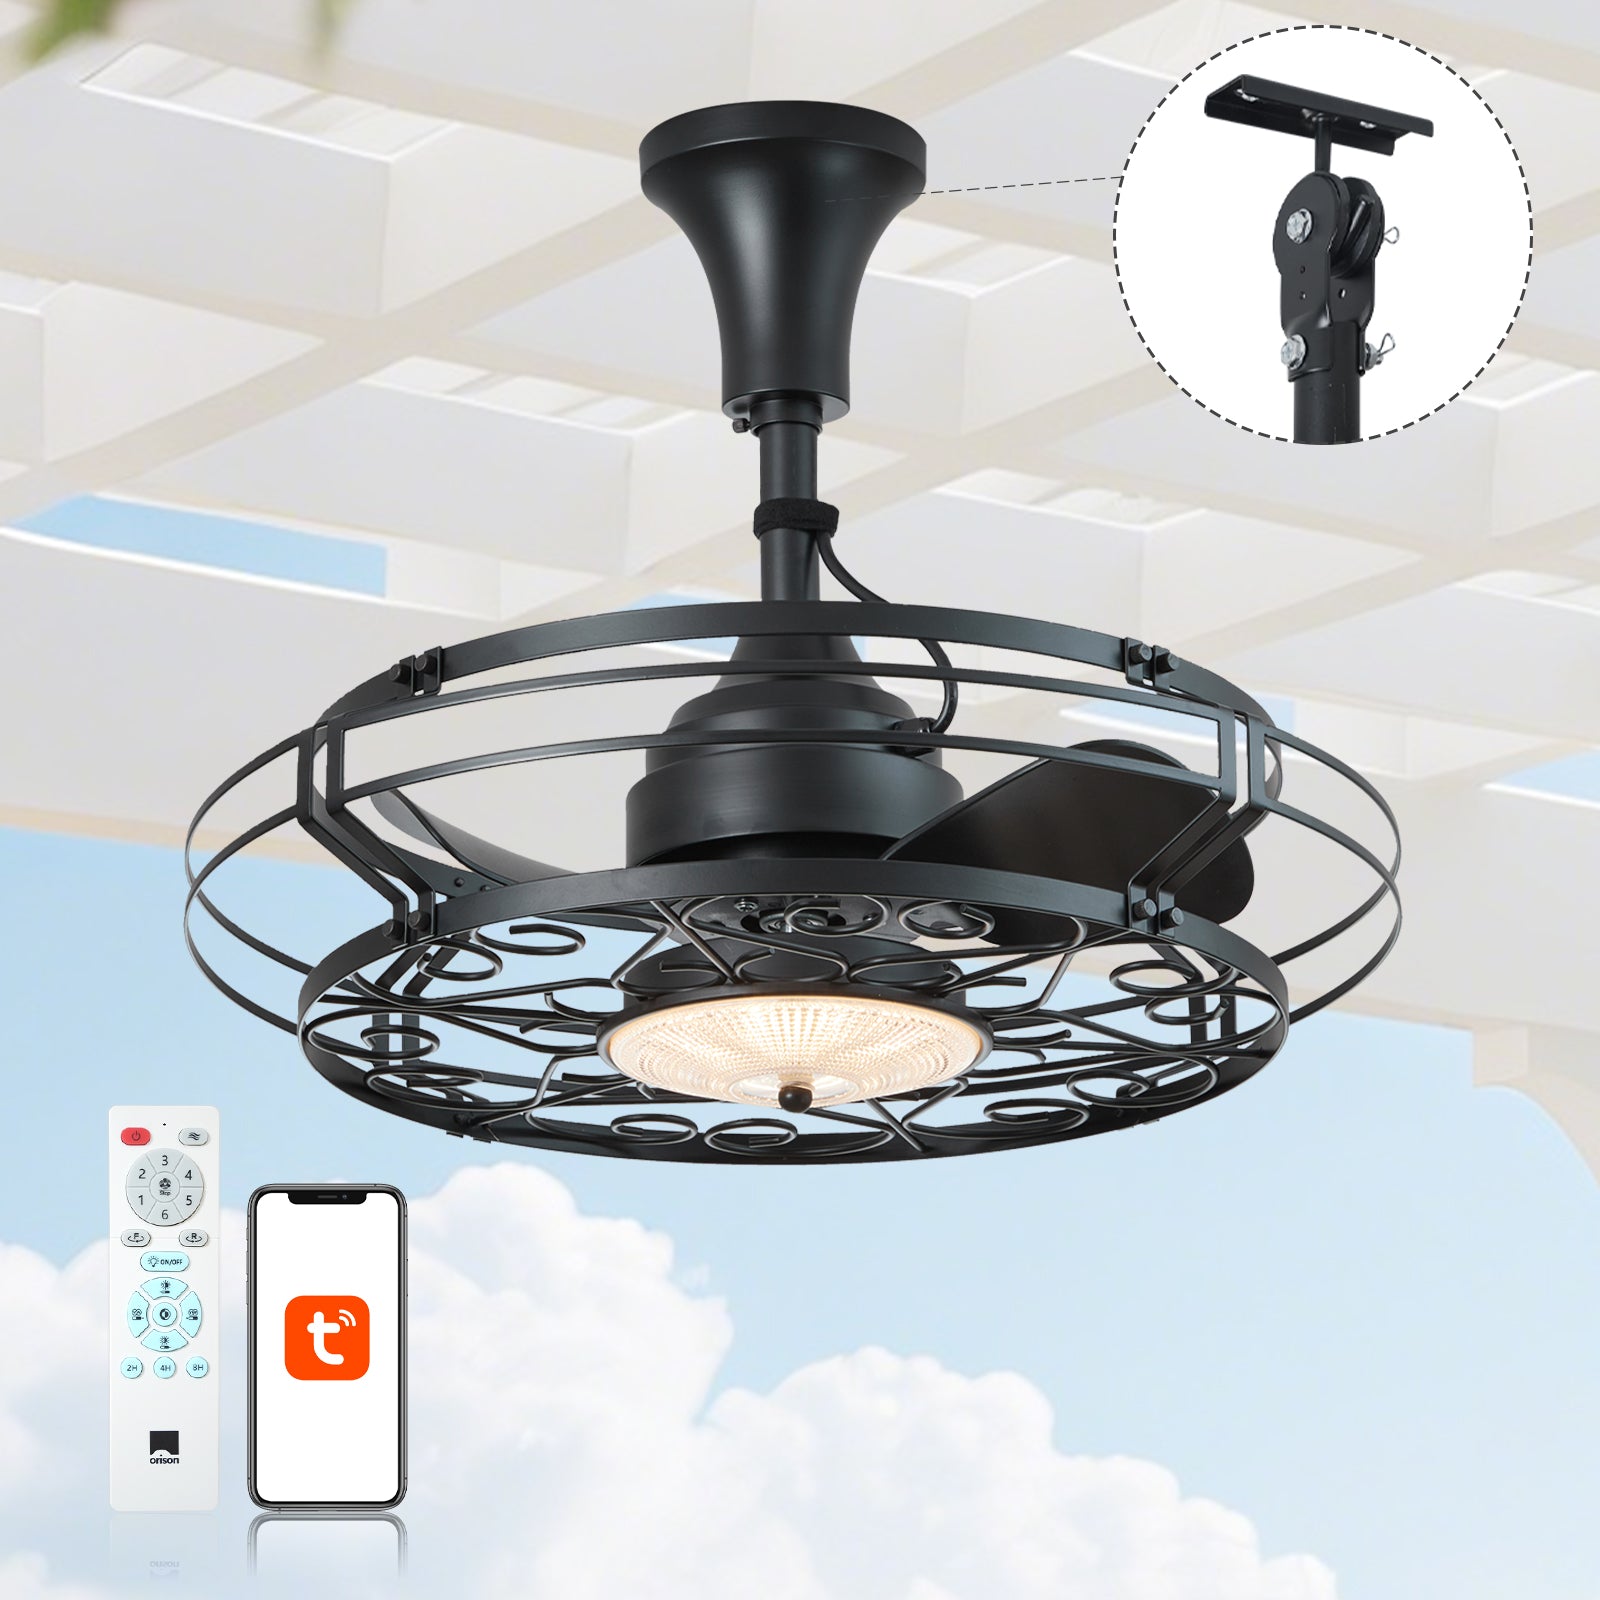
Modern high‑CFM fans often include RF remotes, proprietary receivers, or Wi‑Fi/Zigbee modules for smart home integration. Pairing steps vary: for RF remotes, follow the receiver’s learn mode; for Wi‑Fi or Zigbee, confirm 2.4 GHz network compatibility and account for outdoor signal attenuation. Use UL‑listed outdoor controllers and avoid in‑line dimmers not rated for motor loads — motor controllers differ from lighting dimmers in how they modulate current. For installations with integrated lighting — for example an outdoor fan with light for gazebo — ensure the light driver and fan receiver are compatible; mismatches can cause flicker or receiver resets. When integrating with a smart hub, document MAC addresses and user credentials for future service — it saves time when a component needs replacement.
Common mistakes and field troubleshooting
Installers commonly underestimate mounting-box rating, use incorrect downrod length, or pair controls with incompatible frequencies. Another frequent issue: assuming wet‑rating when a unit is only damp‑rated — that distinction matters in uncovered outdoor applications. Balance problems are usually mechanical (blade weight/twist) rather than electrical, so start there. If a fan hums, isolate the issue: capacitor fault, loose fasteners, or receiver polarity. And—don’t skip the smoke test on the wiring at low speed; it’s a quick functional check that often reveals poor connections.
Pre‑power checklist
– Circuit breaker off, tested and labeled.
– Fan‑rated junction box and mounting verified to structural spec.
– All wiring connections secure and insulated; ground present.
– Downrod and blade torque set to manufacturer values; blade pitch inspected.
– Receiver/remote pairing completed and tested; smart hub connectivity verified.
– Wet/damp rating confirmed for site conditions; light driver compatibility checked.
– Operational test at each speed with load monitoring for abnormal current draw.
Three golden evaluation metrics before and after installation
1) CFM‑to‑area ratio: measure delivered airflow against target CFM per square foot; deviations greater than 10–15% merit inspection. 2) Installation QC pass rate: track the percentage of first‑time installs that pass the full checklist — aim for 95% or higher in repeatable workflows. 3) Smart‑pairing reliability: record the success rate of device pairing and sustained connectivity over seven days in situ — low reliability indicates either RF interference or wrong receiver selection. Selecting fans and controls with published specs for these metrics reduces surprises on site, which is why installers often prefer products that publish CFM curves, motor torque, and receiver compatibility. For many field teams that practical transparency is the difference between rework and a right‑first‑time outcome; and it’s why tested outdoor patio ceiling fans from trusted suppliers and Orison components frequently shorten commissioning cycles.
Install safely, measure everything, and document the results.